Hey Facebook fanatics, Hit the wall and now planning to delete your Facebook Account but would like to know your past activities? or ever forgot what you scrapped on your friends wall? Going for an interview and want to check the bitching you did about your boss or previous employer?
Hmmm…not many people are aware that Facebook allows its users to download all their information in a nice nifty folder-ized compressed file. Apart from the funny reasons mentioned above, you might want to download the Facebook information as a ready reckoner for all the activities you did there be it your likes, wall posts, tags etc. Facebook too encourages you to download your information for various reasons. In its own words:
“What are the benefits of downloading my information from Facebook?
Having a copy of your information — whether that is on Facebook or any other service on the web — is an important part of controlling what you share.
In addition, downloading a copy of your information may come in handy if it only exists on Facebook. For example, you may have lost your mobile phone, which contained many photos you took using that phone. If you had uploaded those photos to Facebook, then downloading your information lets you get copies of them back on to your computer.”
You cannot selectively pick and choose the type of information to download, but it includes anything and everything that you ever did on Facebook including:
- Your profile information (e.g., your contact information, interests, groups)
- Wall posts and content that you and your friends have posted to your profile
- Photos and videos that you have uploaded to your account
- Your friend list
- Notes you have created
- Events to which you have RSVP’d
- Your sent and received messages
- Any comments that you and your friends have made on your Wall posts, photos, and other profile content
How do I download this information:
1. While on Facebook page point your mouse to Accounts
2. From the Accounts Dropdown, select Account Settings
3. Click on “Download a copy” of your Facebook data.
4. Click on the Start Archive button in the subsequent page.
5. It may take a while for the Archive to begin and you will be notified via an email also once it is complete along with a link.
Facebook’s writeup on this subject is available HERE
Related Articles:
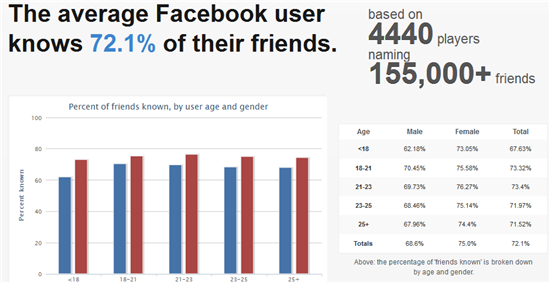
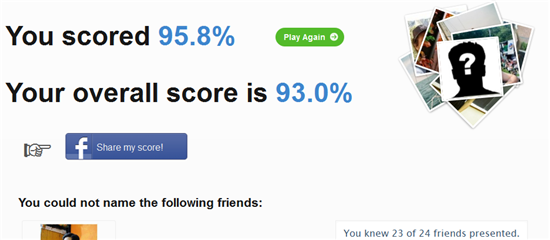
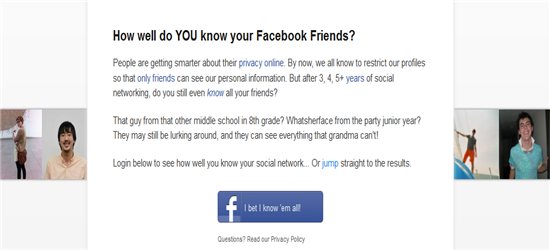 There’s a new country coming up and it goes with the name of Facebook 🙂 With over 800 million users and a significant amount of them active, Facebook is sure a phenomenon of our ages. Well, how many friends do you have? A recent article by Washington Post says “Why You Shouldn’t Have More Than 354 Facebook Friends” scared? and do you really know all of your friends on the Facebook? Here is a way to find out. Developed by the students of Yale, Bay Gross and Charlie Croom, this funny quiz app called Whatsher-Facebook, fires a series of your friends display picture for you to name them within the time specified. Once the time lapses, you are presented with the results at the end on how you fared. And yes, this app needs permissions to access photos.
 Related: